Proper dog ramp training is essential to protect canines from repetitive landing stress. Every time a domestic dog leaps down from an elevated sofa, bed, or porch step, their musculoskeletal frame absorbs a concussive shock wave equal to three to four times their total body weight. While a young, athletic dog may appear unaffected by repetitive landings, the cumulative biomechanical stress drives silent, progressive damage to structural cartilage, spinal discs, and soft periarticular tissues.
For large working breeds, senior quadrupeds, or dogs suffering from subclinical hip dysplasia and intervertebral disc disease (IVDD), uncontrolled indoor jumps represent a primary trigger for acute ligament ruptures and chronic mobility loss. While pet stairs are frequently marketed as a universal solution, continuous stair stepping still forces compromised joints through painful flexion and extension cycles.
Transitioning from vertical leaps to zero-impact navigation requires installing purpose-engineered dog ramps and guiding your dog through structured desensitization protocols. This comprehensive guide examines the comparative physics of ramps versus stairs, outlines clinical installation dimensions, and provides a field-tested behavioral protocol to train reliable, lifelong ramp usage.
1. Biomechanics: Why Ramps Outperform Stairs for Canine Joint Longevity
Understanding how elevation changes affect the canine kinetic chain reveals why ramps offer superior anatomical protection:
- The Impact Force of Downward Leaping: During a forward leap off a sofa, gravity accelerates the dog downward. Upon touchdown, the forelimbs absorb roughly 65% of the total landing force, transmitting concentrated concussive shear stress directly through the carpal joints, elbows, scapular stabilizers, and cervical-thoracic spine.
- The Limitations of Multi-Tiered Steps: Pet stairs divide a large drop into smaller intervals. However, ascending and descending steps requires continuous deep angular flexion of the stifle (knee) and hock joints. For a dog with active osteoarthritis or spinal inflammation, negotiating step edges frequently causes micro-slips and painful joint friction.
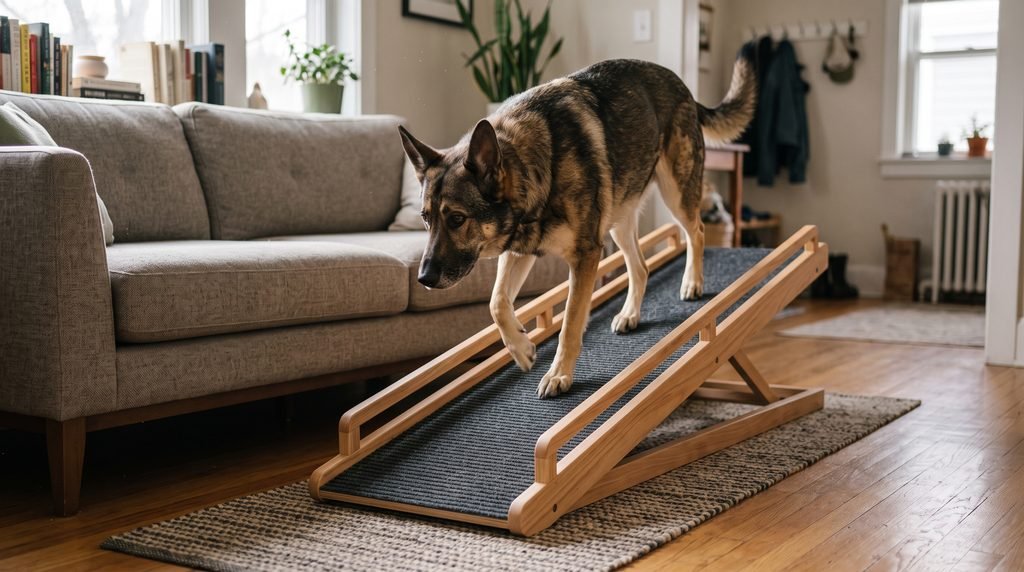
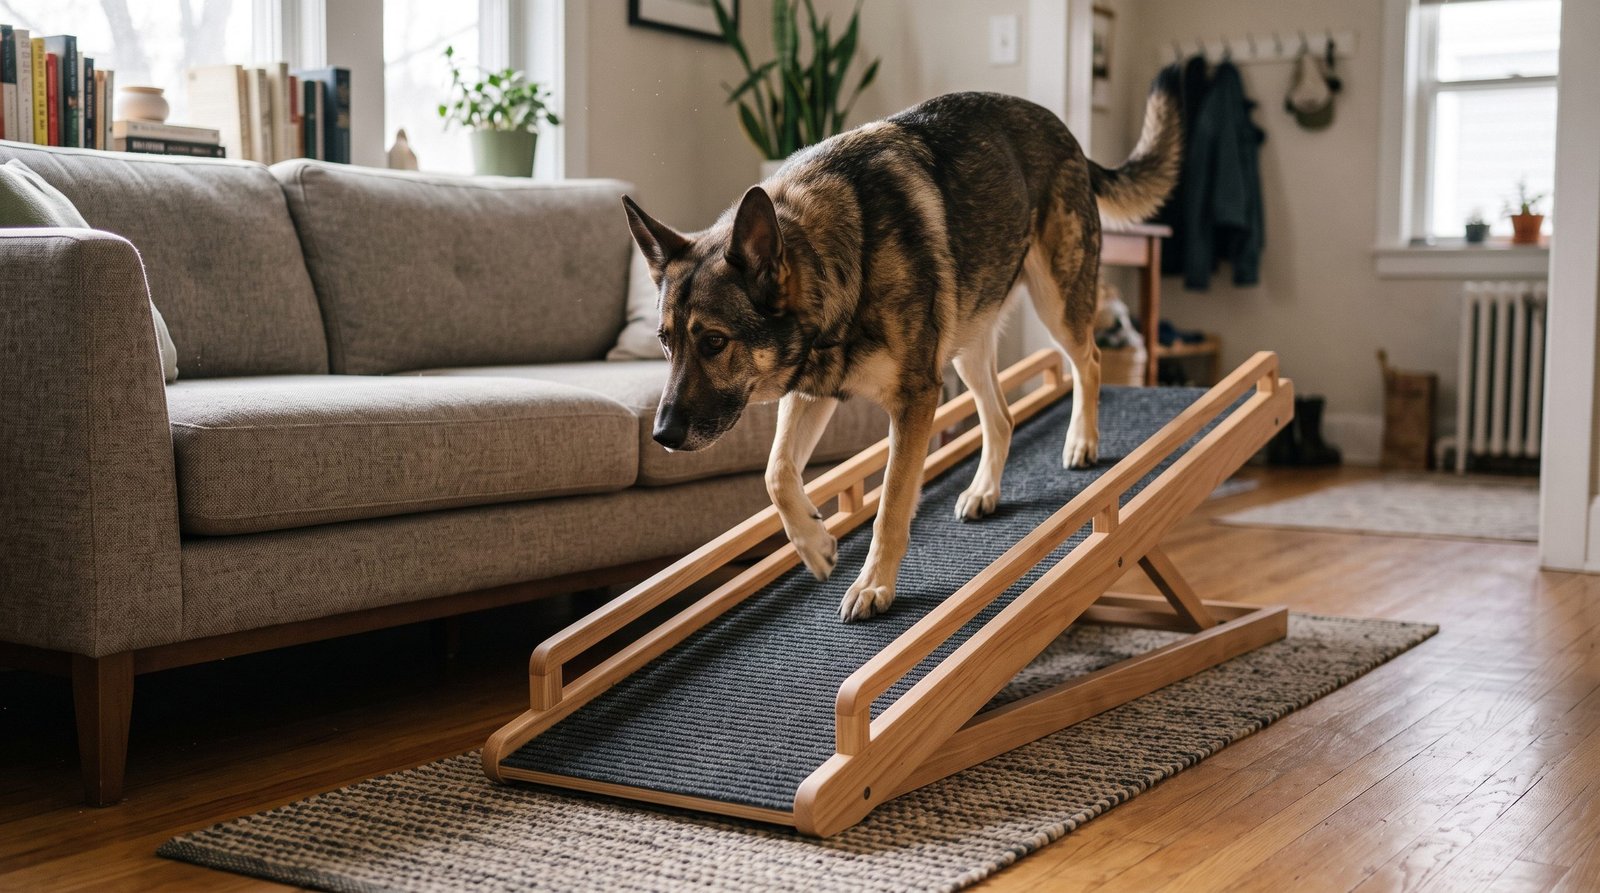
- The Continuous Plane Advantage: A properly angled ramp transforms a series of jarring vertical drops into a single, seamless planar transit. Concussive deceleration is virtually eliminated, allowing the dog to maintain a neutral spinal alignment and stable, low-torque limb kinematics.
2. Engineering Standards: Selecting and Sizing an Ergonomic Dog Ramp
A poorly designed ramp creates hesitation, slipping hazards, and structural instability—often prompting dogs to leap around the ramp rather than walk across it. Ensure your ramp meets these mechanical criteria:
| Installation Location | Elevation Differential | Recommended Incline Angle | Minimum Ramp Length | Recommended Usable Width |
|---|---|---|---|---|
| Standard Low Couch | 16–20 inches (40–50 cm) | 18° to 22° | 36–48 inches (90–120 cm) | 14–16 inches (35–40 cm) |
| High Bedding / Platform | 24–30 inches (60–75 cm) | 20° to 25° (Max 28°) | 60–72 inches (150–180 cm) | 16–18 inches (40–45 cm) |
| SUV / Vehicle Tailgate | 28–34 inches (70–85 cm) | 22° to 26° (Telescoping) | 68–84 inches (170–215 cm) | 17–20 inches (43–50 cm) |
Non-Negotiable Physical Specifications
- The Critical 25° Angle Rule: Any ramp angle exceeding 28° forces descending dogs to brake aggressively with their front legs, transferring harmful braking strain back onto the shoulders and elbows. Keep inclines as shallow as floor space permits.
- High-Traction Grip Surfaces: Smooth wood, laminated veneer, or bare plastic surfaces cause instant loss of footing. Select ramps layered with textured rubber ribbing, marine-grade outdoor turf, or dense ribbed carpeting.
- Lateral Safety Guide Rails: Ramps fitted with 1- to 2-inch raised side edges prevent missteps and build spatial confidence, particularly for senior dogs with diminished depth perception.
- Structural Weight Tolerances: Select a heavy-duty timber or aluminum chassis certified for at least twice your dog’s body weight to prevent wobbling, sagging, or vibration during transit.
3. The 4-Stage Behavioral Ramp Acclimation Protocol
Dogs are instinctively neophobic toward narrow, elevated, or inclined surfaces. Forcing or lifting your dog onto an unfamiliar ramp triggers panic and long-term avoidance. Use this systematic desensitization sequence instead:
Stage 1: Flat Ground Positive Association (Days 1–3)
- Do not attach the ramp to furniture yet. Lay the ramp completely flat on the floor in a quiet living space.
- Scatter high-value treats across the surface.
- Allow your companion to sniff, explore, and walk across the flat board voluntarily. Reward every paw placement with praise and treats, establishing that walking on the surface brings high rewards.
Stage 2: Micro-Incline Desensitization (Days 4–6)
- Prop one end of the ramp onto a low platform, such as a sturdy book or folded blanket (producing an incline of just 2 to 4 inches).
- Use continuous treat luring to guide your dog smoothly up and down the slight slope.
- Reinforce a steady, measured walking pace rather than rushed scrambling.
Stage 3: Full Incline Ascent Training (Days 7–9)
- Secure the ramp firmly against the target sofa or bed, ensuring the base cannot slide.
- Most dogs find climbing up far less intimidating than walking down.
- Stand near the top of the sofa with a favored treat or toy. Lure your dog steadily up the ramp. Once all four paws reach the couch cushion, deliver an immediate jackpot reward.
Stage 4: Controlled Descent & “Jump-Blocking” (Days 10–14)
- Coming down presents the greatest biomechanical challenge, as dogs instinctively prefer to vault off furniture.
- Physical Funneling: Place storage ottomans, accent pillows, or temporary exercise pens along open couch edges, leaving the ramp as the only unobstructed exit route.
- Guide your dog toward the ramp mouth, give a calm “Wait” cue, and lure them slowly down toward the floor using low-positioned treats.
- When they touch down safely without leaping, reward enthusiastically.
4. Environmental Fortification: Beyond the Ramp Surface
Integrating a ramp into your home requires supporting the surrounding layout:
- Landing Zone Traction: The floor directly beneath the ramp base must never be slick hardwood, polished stone, or ceramic tile. Anchor a heavy-duty, rubber-backed runner rug beneath the landing zone to provide instantaneous grip as your dog steps off.
- Regular Claw & Paw Pad Maintenance: Overgrown nails alter the digit’s skeletal angle and prevent pads from gripping textured ramp surfaces. Keep claws trimmed flush with pad margins and trim excess interdigital fur regularly.
- Complementary Joint Nutrition: Mechanical aids work best alongside internal joint support. For senior quadrupeds, combining physical ramps with veterinarian-approved marine Omega-3 fatty acids (EPA/DHA), glucosamine, and chondroitin maintains cartilage resilience against daily micro-trauma.
Summary: A Proactive Investment in Lifetime Mobility
Managing canine joint wear requires eliminating avoidable high-impact stress points before irreversible cartilage degradation occurs. By investing in a low-incline ramp with high-traction surfacing, blocking hazardous drop-off zones, and patiently building confident footing through positive reinforcement, you protect your companion’s spinal column and limb joints—ensuring smooth, pain-free mobility through every stage of life.