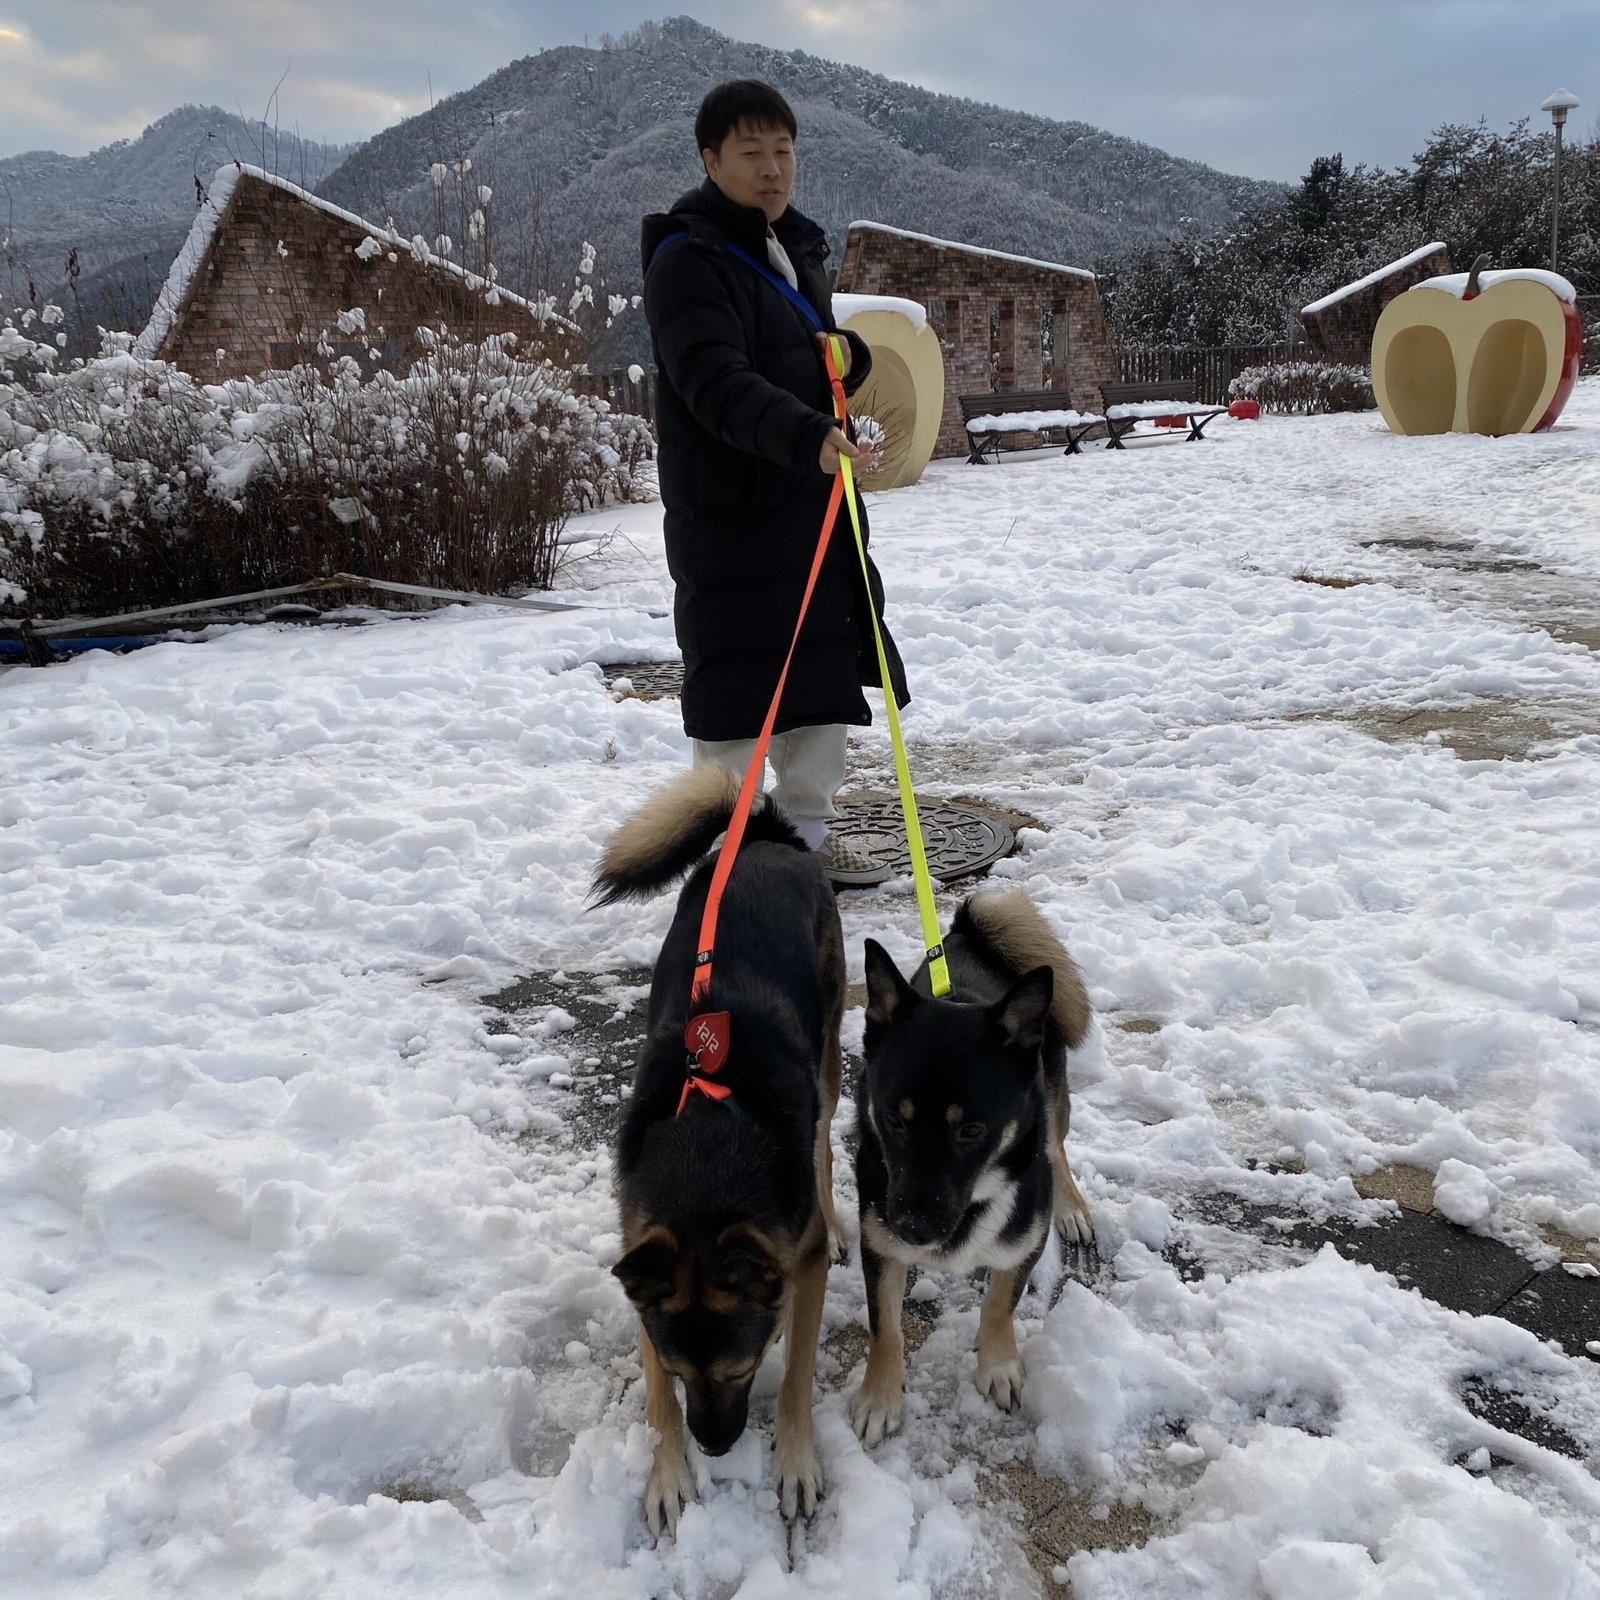
When winter arrives, learning how to protect dog paws from winter salt and harsh ice melters is essential for every pet parent walking their companion on treated urban sidewalks.
Rock salt (sodium chloride) and chemical de-icers (calcium chloride and magnesium chloride) do far more damage than simply making the ground cold. They draw moisture directly out of your dog’s paw pads, resulting in painful micro-cracks, chemical irritation, and acute inflammation. Even worse, dogs instinctively lick their stinging paws as soon as they get indoors, ingesting toxic chemical residues that can cause severe gastrointestinal distress.
Learning how to protect dog paws from winter salt and chemical ice melt requires a consistent, proactive strategy before, during, and after every walk. Here is an actionable guide to winter paw safety.
1. Understand the Danger: Salt Toxicity and Thermal Shock
Not all road salts are created equal, and understanding what sits on the pavement helps you gauge the risk:
- Sodium Chloride (Standard Rock Salt): The jagged edges cause physical abrasions, while the salt crystal leaches natural oils from the skin, leaving pads dry, brittle, and prone to deep splits.
- Calcium Chloride & Magnesium Chloride: These modern de-icers generate exothermic heat when exposed to moisture (such as snow or foot sweat). This chemical heat reaction can literally burn a dog’s bare skin within minutes.
- Ingestion Hazards: When dogs groom salt-encrusted paws, they risk vomiting, diarrhea, excessive thirst, and in severe cases, sodium toxicosis.
2. Pre-Walk Defenses: Boots vs. Paw Waxes
Preventing direct contact with salt-treated surfaces is your primary line of defense. You have two main options:
Option A: Dog Booties (The Ultimate Physical Barrier)
Dog boots provide complete insulation from both extreme cold and caustic chemicals.
- What to look for: Look for waterproof shells with rugged, textured rubber soles (such as vibram-style outsoles) that provide traction on slick ice.
- Fit is critical: Booties must fit snugly around the metacarpal/metatarsal joints with dual-strap Velcro to stay on during high-speed runs or deep snow wading.
- Acclimation: Do not put boots on for the first time right before a walk. Introduce them inside your home for 5 to 10 minutes at a time with positive reinforcement and high-value treats.
Option B: High-Viscosity Paw Waxes
If your dog completely refuses boots, paw balm or musher-style wax is the next best alternative.
- How it works: Food-grade waxes formulated with beeswax, carnauba wax, and protective oils (like coconut or shea butter) form a dense, hydrophobic breathable layer over the pad.
- Application: Apply a generous layer between the toes and directly over the rough pads 2 to 3 minutes before heading out the door.
- Limitation: Wax slowly wears off over extended walks (especially beyond 20–30 minutes) and must be reapplied before every single outing.
3. During the Walk: Smart Route Management
A few minor adjustments to your daily walking routine can cut salt exposure in half:
- Avoid Treated Sidewalks and Driveways: Whenever feasible, steer your dog onto packed, untreated snowbanks along residential trails rather than heavily salted concrete walkways.
- Watch for “The Lift”: If your dog abruptly stops, refuses to move, or holds one paw elevated in the air, do not force them forward. This indicates salt crystal irritation or extreme ice build-up between their toes. Clear the paw immediately using your gloved hand before continuing.
- Shorten Exposure Time: In temperatures below -15°C (5°F) combined with road treatment, break long daily walks into several 10-to-15-minute exercise sessions to reduce exposure duration.
4. Post-Walk Protocol: Decontamination and Restoration
What you do the minute you walk through your front door is just as critical as your preparation before stepping outside.
Step 1: The Lukewarm Paw Rinse
Never use hot water, as rapid temperature shifts cause intense stinging on cold-numbed tissue.
- Keep a shallow basin of lukewarm water or a dedicated silicone paw cleaner near your entryway.
- Gently swirl each foot to dissolve stubborn de-icer crystals lodged between the webbed toes.
- Alternatively, use unscented, pet-safe grooming wipes or a damp microfiber towel to wipe down paws, lower legs, and bellies where road slush splashes.
Step 2: Thorough Drying
Dry thoroughly between each toe pad. Trapped moisture combined with warm indoor air creates an ideal environment for yeast and bacterial infections (pododermatitis).
Step 3: Nourishing Balm Treatment
After the pads are clean and dry, apply a restorative healing balm containing ingredients like natural shea butter, vitamin E, or calendula. This replenishes the lipid barrier, softens calloused skin, and prevents cracked skin from reopening during future walks.
5. Keep Paws Trimmed for Easy Maintenance
Long fur protruding from between toe pads collects wet snow and de-icing chemicals like a sponge. This slush quickly freezes into solid, rock-hard ice balls that wedge between digits, pulling at the hair follicles and bruising delicate tissue with every step.
Keep hair trimmed flush with the bottom of the paw pads throughout the winter months using blunt-tipped grooming shears or a mini cordless trimmer. Maintaining clean edges prevents ice buildup and makes post-walk clean-ups significantly faster.
Final Thoughts
Winter should not keep you and your dog locked indoors. By establishing a rigid routine—applying a protective barrier before heading out, navigating away from heavily salted strips, and thoroughly rinsing away chemicals upon returning—you can safeguard your canine companion’s paws against harsh winter elements and chemical burns all season long.